How to Install TG’s PIR Motion Sensor Switch
A motion sensor light switch is the perfect way to help automate your home. Topgreener’s TSOS5 switch is equipped with advanced passive infrared (PIR) sensor technology, which reduces false triggers and allows for adjustable sensor ranges.
It’s ideal for rooms you enter with your hands full–for instance, the kitchen, garage, or laundry room. This device also makes lighting control more accessible to those who may have trouble reaching or using a manual switch, such as people with disabilities.
This switch is a great addition to any home. The upgrade may seem daunting to do at first, but at Topgreener, we’re here to help ease your mind. Follow this step-by-step guide to change out your old light switch with this automatic light switch.
As always, if you have any doubts, consult a professional for advice.
Let’s get started:
Gather your tools.
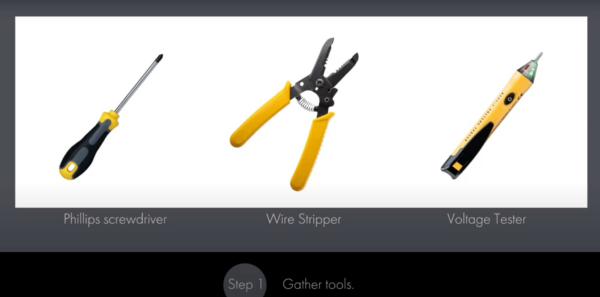
For this DIY project, you’ll need a Phillips screwdriver, a wire stripper, and a voltage tester. Electrical safety gloves are also highly recommended.
Unscrew the existing wall plate.
Make sure the terminals are not making contact with any metal or conductive objects.
Carefully take the switch out of the electrical box, but do not disconnect.
At this point, you want to start identifying your wires. This lets you know where to connect the sensor switch when it’s time.
The neutral wires are capped together in the electrical box. If your wiring looks like the photo below, proceed to the next step.

Turn the light switch off (not the breaker).
This will allow you to properly test and label the wires.
Voltage test and label wires.
Use a non-contact tester to locate the hot wire by bringing the tip of the tester as close as possible to one of the black wires on the two terminals.
When the indicator on the tester lights up red or beeps, you’ve identified your HOT wire. Label it HOT.

The other black wire connected to the switch is the LOAD wire. It should not have power if the light switch is turned off. Label it LOAD.
Bare copper or green wires should be attached to the GROUND terminal (the green screen).
The NEUTRAL wires are the white wires that are capped off and pushed to the back of the electrical box.
Easy as that, you now know where all your wires are.
Turn off the power at your circuit breaker.
This is a crucial safety step.

Remove the old switch.
It’s time to swap out the old switch for your new motion sensor switch. Topgreener’s motion sensor switch has color-coded wires for easy installation.

Connect your wires.
Once you’ve successfully paired all the wires, push them back into the box. Mount the device onto the electrical box, but do not install the wall plate yet.
Turn the power back on at the circuit breaker.
Remove the control panel cover to expose the dials.

Adjust the time, range, and light levels to your preference.
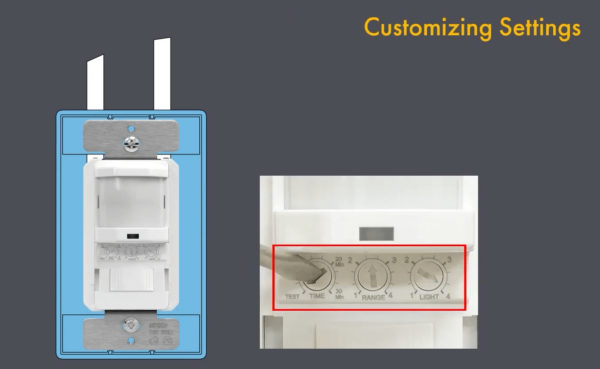
These dials help you customize how long the time delay stays on for the switch, the range of motion the sensor detects (larger areas might need a larger range), and lighting levels.
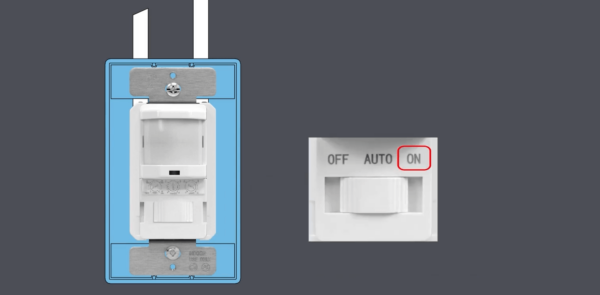
Test for power.
Slide the switch on the device to the ON position to test for power. After confirming, slide the switch to AUTO.
Snap the control panel cover back on and push it firmly into place.
Finally, reinstall your wall plate.
Congratulations on a successful DIY upgrade!