DIY Made Easy: How to Panel a Wall
Accent wall panels are making a comeback–it’s the ideal way to add depth, character, and a touch of luxury to any room. Whether you’re a seasoned DIY enthusiast or a budding novice, this blog is a quick guide to help you get started navigating the exciting world of wall paneling.
Let’s get started:
MATERIALS:
- Wall panels of your choice (like MDF, wood, etc.)
- Tape measure
- Level
- Saw (a circular saw or table saw works best for large pieces)
- Adhesive (construction adhesive suitable for your wall and panel material)
- Nail gun or hammer and nails
- Paint and brushes or a paint roller, if desired
- Sandpaper or electric sander
- Safety goggles and gloves
*It is important to take the necessary precautions before attempting this project. Safety goggles and gloves are highly recommended.
STEPS:
Plan Your Layout:
Measure the wall on which you want to install the panels. The size and arrangement of panels can be entirely up to your preference. Sketching a layout for your panels based on these measurements can help.
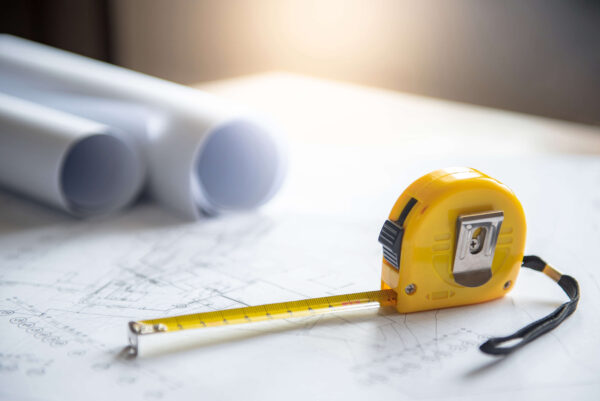
This first step will determine how much wood you need. Getting accurate measurements is crucial to the rest of the project. It is better to be safe than sorry. Once you know what kind of design you want, measure and remeasure your wall.
Prep Your Wall:
Check that the wall is clean and dry. If necessary, remove old paint or wallpaper and sand the surface smooth. This will help remove any lumps that might show through or make adhesion more difficult.

Cut Your Panels:
Measure and mark the size of the panels on your paneling material based on your sketch. Using a saw, carefully cut the paneling. Sand the edges to smooth any rough spots.
Dry Fit Your Panels:
Arrange the cut panels on the wall to make sure they fit correctly. Use a level to ensure they’re straight.
Adhere Your Panels:
Apply the adhesive to the back of each panel. Stick the panel to the wall, starting from the bottom if you have multiple rows. Press firmly and ensure its level.
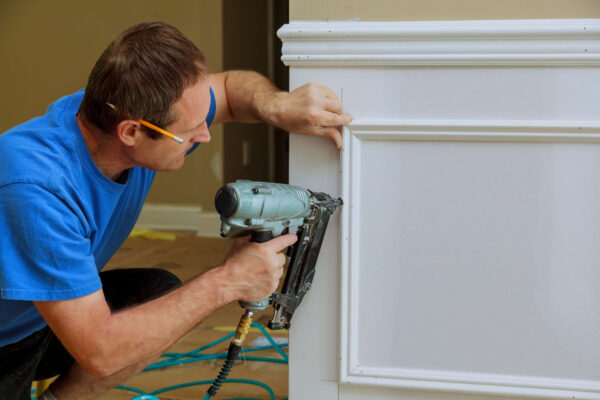
Secure Your Panels:
While the adhesive will hold the panels, for added security, you can also use a nail gun or hammer and nails. Drive the nails into the corners of the panels and along the sides.
Repeat:
Continue this process until all panels are installed. Always check with a level as you go to make sure the panels are straight.
Fill and Sand:
If there are any visible nail holes, use a wood filler to fill them in. Once it dries, sand it smooth.
Prime and Paint:
Priming helps achieve a professional finish and makes a difference. It sets the foundation for the paint and makes for a smooth application.

If desired, paint your panels to match your decor. Make sure to use paint suitable for your paneling material.
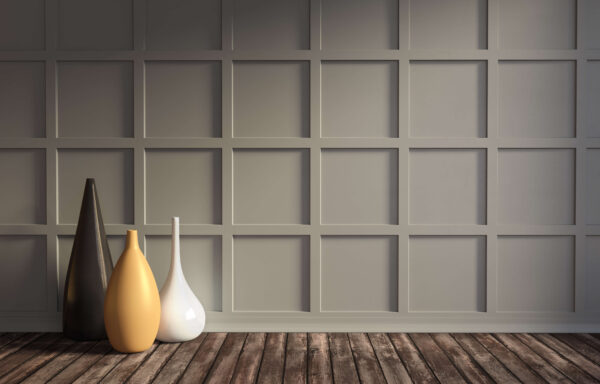
Clean up and Enjoy:
Clean up your workspace, step back, and admire your newly paneled accent wall!
Create beautiful accents with Topgreener products:
After all your hard work in creating a beautiful wall, don’t let old outlets and light switches be an eyesore. Elevate the space with our beautiful Elite Series, which offers colors and finishes that can integrate into any space.
Happy DIY-ing!